How To Make A DVD With The HDi-250 - BCD Associates
How To Make A DVD With The HDi-250
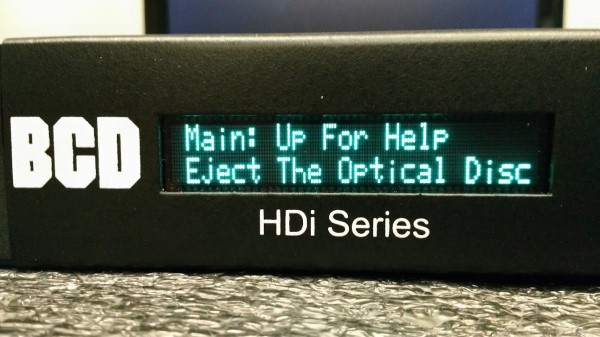
Are you wondering how to make a DVD with the HDi-250? To help you out, we’ve put together a tutorial that guides you through each step in the process. To make things even easier, we’ve included example pictures. This way, you know exactly how to make a DVD, where you are in the process, and what you should see on your HDi-250’s display. Before you begin, please note the following information:
The HDi-250 does not record DVD-Video discs directly.
It records to the hard disk drive (HDD), then you make a dvd from that or from several files.
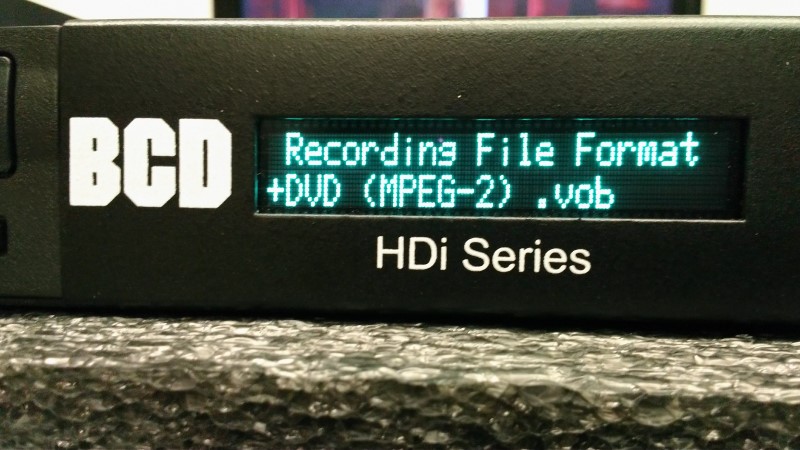
DVD Burn Times for 1 hour files:
- Using MP4 files: 9:30 (nine minutes, 30 seconds)
- Using MPEG-2 (VOB) files, 3 minutes (2:51)
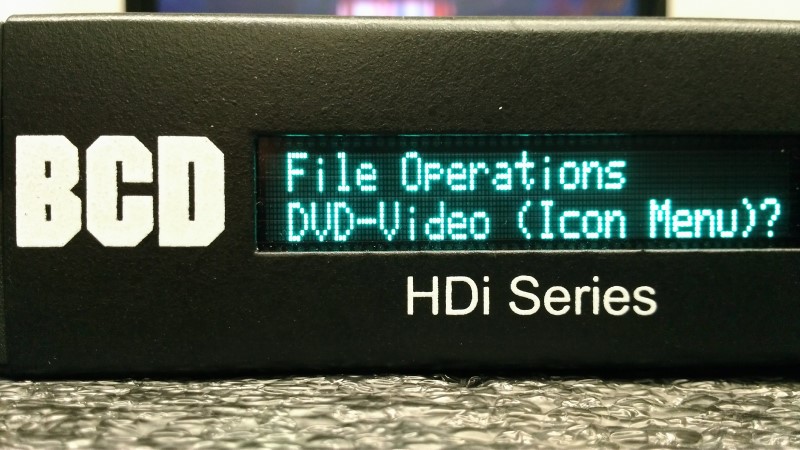
To make a DVD-Video disc, first put a blank DVD disc (+R, -R, or +RW) into the machine
|
1.
|
2.
|
|
3.
|
4.
|
|
5.
Press Enter, confirm your choice, and DVD-making will start. The disc will eject when the disc is finished.
|
|